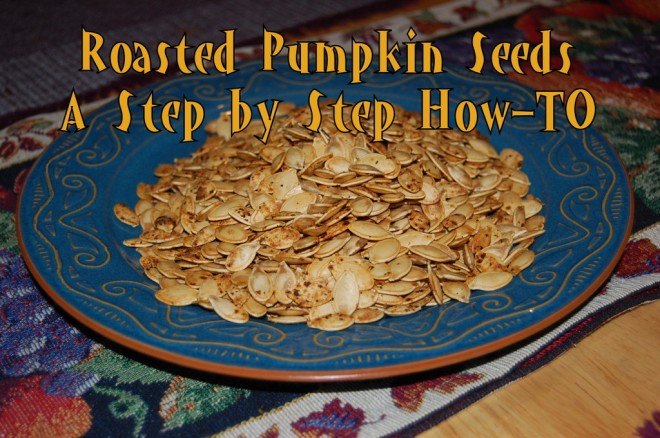
This is exactly what I did.
Step one: Gutting your punkin. Scoop out the seeds using your preferred method. I grab the biggest metal spoon in the house but if you have one of those dandy pumpkin scoops then you just go on with your awesome self. Make sure nothing but guts go into this bowl. Lots of mystery chunks ended up in my bowl because my family hates following directions.
Step Two: After you've carved your Halloween masterpiece take your seed bounty to the kitchen and transfer to your popcorn bowl. You know the one. The biggest bowl in your house, the one that doesn't fit in the dishwasher and requires hand washing....yeah, that one. Place a big bowl in your sink. Dump in your seed and guts. If you have a kitchen sprayer I am not only completely jelly of you but I highly recommend using that. Spray the seeds with a high pressure stream of water and agitate and squeeze with your hand to separate the stringy pulp from the seeds. The seeds will float to the top and can be skimmed off using a slotted spoon. Transfer cleaned seeds to a separate bowl (the original bowl if you hate washing extra dishes). Repeat until you have liberated all (read: nearly all) the seeds.
Step Three: In a measuring cup combine salt and water following a 1:4 ratio. 1 part salt to 4 parts water. Mix up enough to completely cover your seeds and stir until the salt is completely dissolved. Pour over your seeds. Cover with a lid and place in the fridge. Brine your seeds for 8-48 hours. Mine soaked for about 32 hours and I am pleased with the results. My advice: Do not skip this step. I realize it's a little time consuming but it is totally worth it.
Step Four: There is a wide and varying range of pumpkin seed recipes out there and the consensus seems to be that no one can agree on oven temp, roasting time, when and how to season them. I basically just averaged it all out and did my own thing (which is how I usually roll anyway). Preheat your oven to 300 degrees F. Grab a half sheet or cookie sheet and spray it with nonstick cooking spray. Drain the seeds and discard the brine. Shake off as much excess water as you can. Dump the seeds onto a towel and dry them off as best you can. This part of the process was by far the most annoying. In hindsight I'm wondering if it would have been easier to dry them in a large skillet over medium heat. I may try that next year. Return the seeds to the (dry) bowl. Add some oil (I used light olive oil, any light tasting oil will do though). The amount is based on how many seeds you have. 1 teaspoon per cup seems pretty good though. DO NOT ADD SALT. Can not stress that enough. These bad boys are salty enough. Stir to coat seeds with oil and then dump them on your baking sheet. Shake or spread them out evenly.
Step Five: Roast them suckers! How long you ask? Well, I don't know. No, seriously, I don't know. It's based on how many seeds you are roasting. Set your timer for 10 minutes. Stir. Return them to the oven. Repeat. Roast them at ten minute intervals, stirring every time, until they are lightly browned and crunchy. Mine took about 40 minutes. I made 3-4 cups worth.
Step Six (Optional): If you like your pumpkin seeds crunchy and salty and that's all then stop at step five. If you want to take yours to the next level; read on, my friend. After 20 minutes of roasting or at the first sign of browning I sprinkled my seeds with dry ranch dressing mix. I used 1-2 tablespoons for the whole batch, that's totally an estimate since I just eyeballed it. Pinterest is your friend for finding seasoning ideas. Lots of options and recipes out there. I would recommend not adding the seasoning until you're about halfway through the roasting process. The seasoning will brown a lot faster than your seeds. You do not need to stir in the seasoning as long as it's combined before you add it. So mix it up separately in a small bowl before sprinkling it over you seeds.
Let cool before enjoying the yumminess. Store in an airtight container or bag to preserve the yumminess.
I wish you success and a very fun, safe and Happy Halloween!


No comments:
Post a Comment